Thursday, September 17, 2009

Kenny Shopsin's Chicken Tortilla Avocado Soup

Due to popular requests, we did another Kenny Shopsin attempt.

In case you're out of the Kenny-Shopsin-Soup-Philosophy-loop, he believes that "taking two or four hours to make a soup just because the broth takes two to four hours to cook makes no sense whatsoever." So at Shopsin's General Store, he makes each soup to order, by scratch, with the stock being the only element made ahead of time. Wrap your head around that, and then wrap your head around this: In it's heyday, Shopsin's menu had close to 300 soups on it.

So for this attempt, we tried our hand at preparing the most popular soup on Shopsin's menu in the style of Kenny Shopsin.

Shopsin's version:


our version:

Kenny on making soup: "When I'm making soup, I always add the vegetables to the pan as I chop them, so the soup and I are working simultaneously toward the same end." In this soup in particular, he's keen on making sure the cabbage gets nice and brown before you add the prepared stock.

Cooking in the style of Kenny Shopsin definitely pushed me to the limits of my comfort zone in that I tend to pre-chop everything and am all about organization in the kitchen. But I was going Shopsin style, so while the cabbage browned, I started chopping the onions and jalapeno.

OH and all the while, the chicken was grilling.

With chopping, grilling and sauteing all going on, my head was close to exploding, but I also felt like a real cook in some hectic commercial kitchen, which was kind of cool?

After the cabbage had browned, we added the stock, deglazed the pan, and then added the sliced chicken, beans, and cilantro.


At this point it started looking and smelling REALLY good. This dish is also plated in classic Shopsin style -- throw tortillas in a bowl, ladle in the soup, then drop in freshly sliced avocado.

Staring at this organic Californian avocado reminds me. We have a winner! Congrats to Eva (and lucky number 13?) on winning the t-shirt giveaway!


I think this soup has officially made it's way into our normal/non-attempt dinner rotation. It really hit the spot AND start to finish, the entire process took less than 20 minutes.

Thanks, Kenny!


Ingredients
two 5-6 oz. boneless, skinless chicken breasts
1/4 cup good olive oil
3 cups thinly sliced green cabbage
1 cup chopped yellow Spanish onion
minced hot peppers to taste
4 cups chicken stock
6 fresh cilantro sprigs
1/4 cup canned black beans, drained
salt and pepper
tortilla chips
a ripe Hass avocado, halved and pitted

Instructions
Grill the chicken (Shopsin has a whole thing on how he grills chicken, but sorry, you will have to get the book to read it.) on both sides for the grill marks only, do not cook it through completely. Cut it into strips.

Meanwhile, heat the olive oil in a large, heavy saute pan over high heat. Add the cabbage, onion, and peppers to the pan and let the vegetables cook until they brown in places, about 5 minutes. Deglaze the pan with the stock.

Add the chicken strips, cilantro, and black beans and simmer the soup until the chicken is cooked through and the broth is warm, about 2 minutes. Season with salt and pepper if desired. To serve, put a handful of tortilla chips in each of however many bowls you are using. Pour the soup over the chips, and scoop the avocado so it drops into the bowls.

Wednesday, September 16, 2009

How to Grill an Eggplant (Stove Top Method)

I don't own a grill. The grill where you can do your barbeques and make paneer tikka and garlic bread? Yeah, I don't have that. Not even an anti-social sized one that helps me make portions enough for two. And before you ask, no, my microwave does not come with a grill.

But, does that stop me from grilling? Hell no! Being a self-confessed eggplant lover, how can I not grill it and make those yummy grilled eggplant recipes?

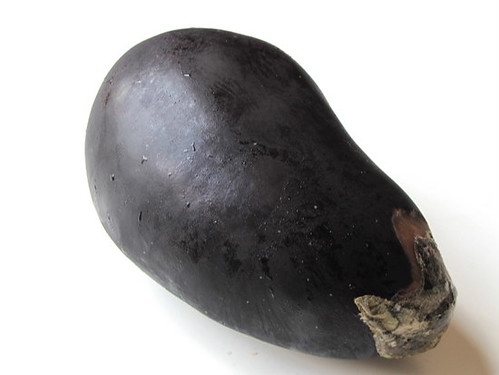
So I got an eggplant one Saturday.


It was nice and fresh and fat when I bought it on this particular Saturday. Unfortunately, I didn't use it for a whole week and when I took it out the next Saturday morning, it had slightly begun to wilt and rot at the stalk. Just slightly though.


That's ok. Just chop off a bit from the stalk part and place it on a plate.


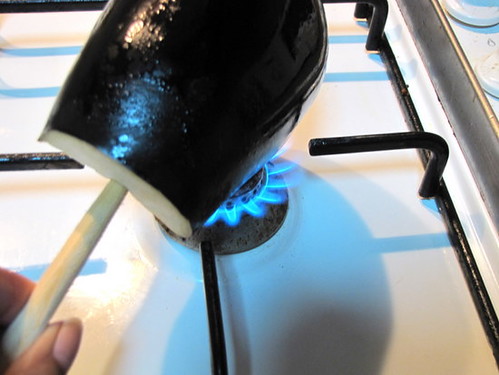
Stick a thick wooden skewer or slim spoon or something similar through the middle of the cut portion.

Take 1 tsp oil and coat the eggplant well. Go on, don't be a wuss and use your hand to do the oil massage.


Switch on your stove and keep it on low fire. Hold the wooden skewer firmly and place the oiled eggplant near the fire. Keep rotating slowly making sure all the sides get even heat.


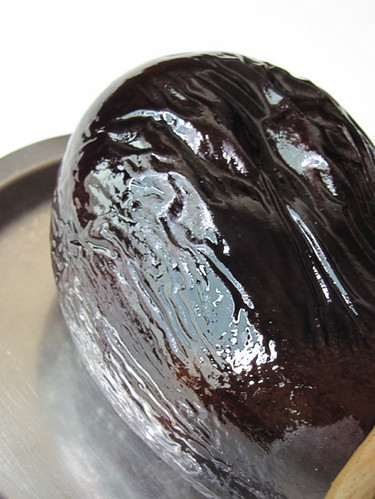
The skin will being to shrivel and the skin starts getting charred. Make sure no sides burn by evenly distributing the heat.

Place on a plate and let it cool a bit.


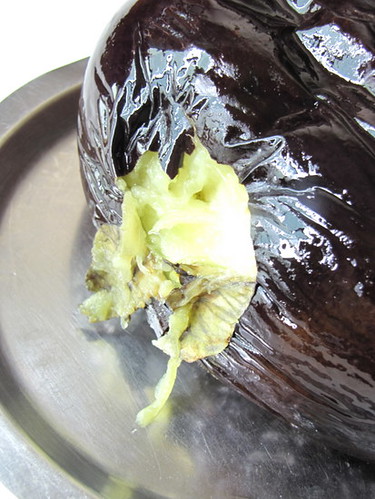
Peel the charred skin and remove completely. The resulting eggplant meat will be soft, semi-cooked and very fragrant because of the stove-top grilling.

We can make a bunch of interesting stuff with grilled eggplant. Watch this space for the recipes :)

Monday, September 14, 2009

Khadi Pakora / Kadhi Pakoda Recipe

I like dumplings in gravies. Its nice to have a curry base and have these cute balls floating in it. This goes for anything, actually, and Punjabi Khadi Pakora has been in my head since forever. I had bookmarked the recipe on many sites but finally ended up making an adapted version from Nita Mehta's Punjabi Recipes book, the same one I made the Paneer Peas Curry from.

Since a lot of you may feel this is a bit of work, I took step-by-step pictures. Its not that difficult actually. The recipe has two distinct sections - making the khadi and making the pakoras. Let's make the pakoras first.

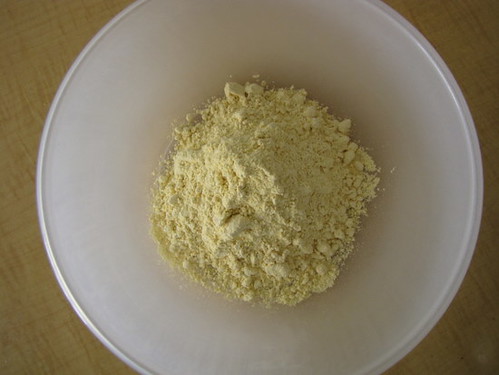
Take 1.5 cups of besan in a bowl.


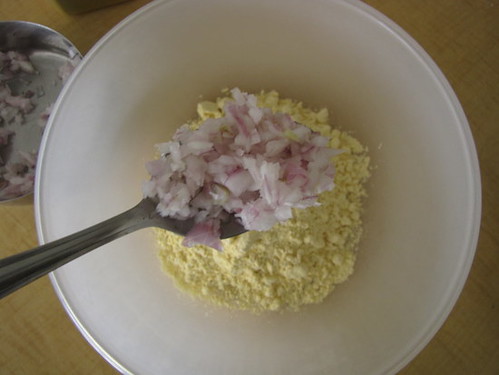
Add 1 finely chopped onion of medium size.


Then add 1 finely chopped potato. I used my chopper that I used in the Gobi Paratha Recipe to chop the onion and potato so fine but you can do it by hand too, just takes longer.


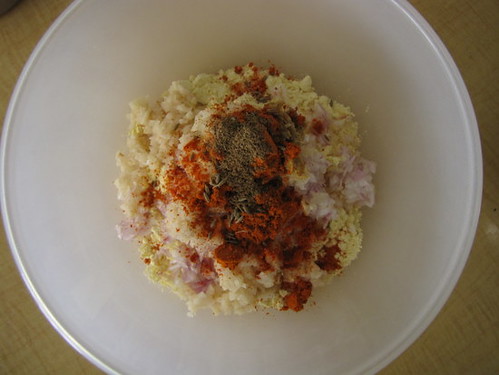
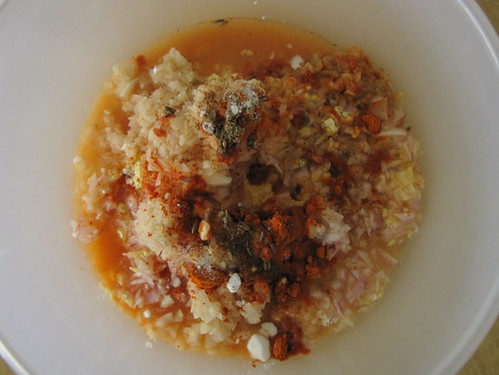
Throw in 1 tsp red chilly powder, 1 tsp jeera, salt and a pinch of hing.


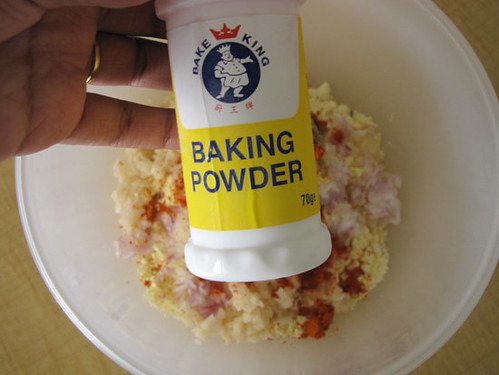
Next comes baking powder. This helps to make the pakoras crisp. You can avoid this but use it if you have it.


Almost done. Add in 1 cup water.


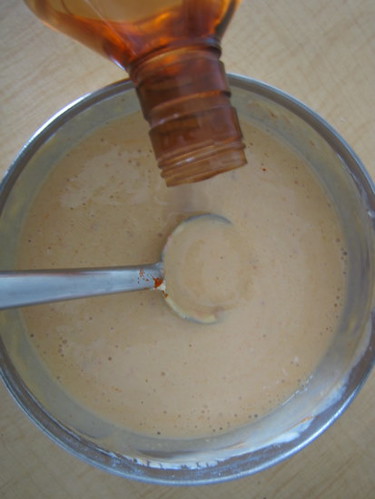
And mix well to get a batter of dropping consistency. Make sure the batter is not too lose.


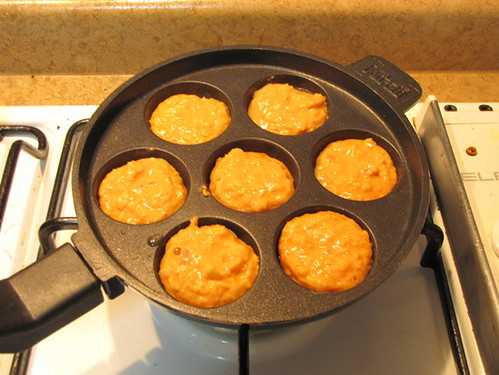
I used my spanking new paniyaram chatti / aebleskiver pan to fry the pakoras. You can also deep fry them in a kadai by dropping them in using a spoon.


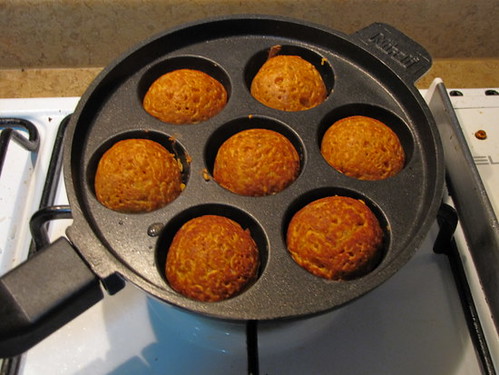
Excuse the super bright pic! Its my kitchen light :D So, the paniyaram chatti is nice to use for mainly two reasons. You use very little oil in the process, especially if the chatti is non stick and also, the pakoras come out very uniformly shaped.

See, nicely browned and very pretty. Set them aside on a kitchen napkin.

Now for the khadi.

Take 2 cups of curd / plain yogurt in a bowl.


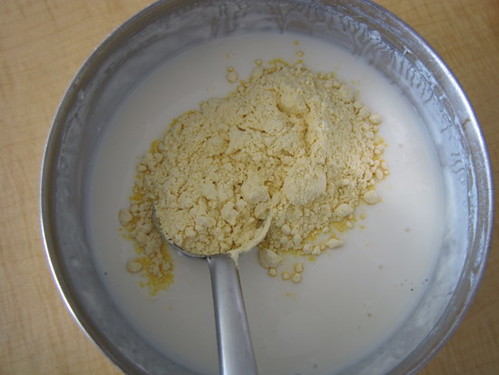
Add 1/3 cup besan to the curd.


Throw in 1/2 tsp turmeric powder, 1 tsp red chilly powder and salt. Mix well.


Add 1 cup water to this mixture.

Mix well and get ready to temper this.

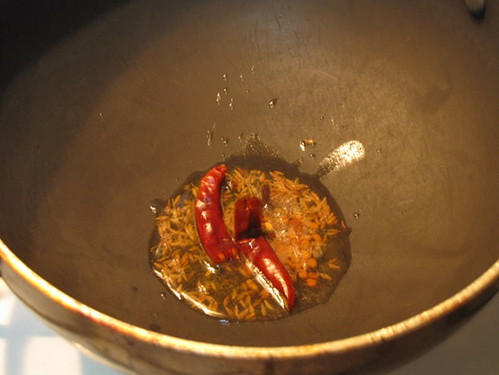
For tempering, heat 2 tsp oil in a kadai. Add 1 tsp jeera and 1 red chilly torn into pieces.


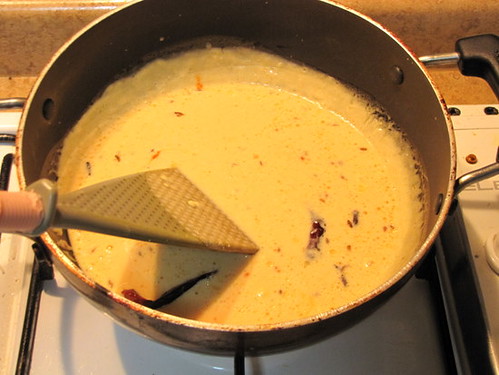
When the jeera splutters and turns brown, lower the fire to sim and add the curd mixture. Mix well for about 5 mins until the khadi thickens. Adjust salt. Set aside.

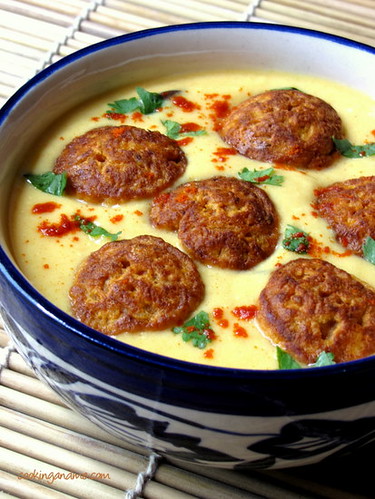
Add the pakoras to the khadi just before serving. Garnish with coriander leaves and some red chilly powder.

Here's the recipe again, all in one place.

Punjabi Khadi Pakora Recipe
Source: Nita Mehta's Punjabi Recipes
Serves: 4 as a side
Preparation time: 45 mins

For the Khadi:

2 cups curd / plain yogurt
1 cup water
1/3 cup besan / kadala maavu / gram flour
1/2 tsp turmeric powder
1 tsp red chilly powder

For tempering:
1 red chilly, broken into half
1 tsp jeera
2 tsp oil
Salt

For the Pakoras:

1.5 cups besan / kadala maavu / gram flour
1 onion, finely chopped
1 potato, finaly chopped
1 tsp red chilly powder
1 tsp jeera
A pinch of hing
1/2 tsp baking powder
Salt
1 cup water

How I Made It:

1. Mix the ingredients for the pakoras to form a batter. The consistency should be that of bajjis, not too loose.

2. Deep fry the pakoras in hot oil or use a paniyaram chatti / aebleskiver pan. This should help reduce the usage of oil and give you uniformly shaped pakoras.
Set aside.

3. Beat the curd well. Add besan and other ingredients and beat well.

4. Heat oil and add the jeera and halved red chilly. When the jeera splutters and turns brown, lower heat to minimum and add the curd mixture. Bring to boil stirring continuously. After 5 mins, remove from fire.

5. When you are ready to serve the kadhi, add the dumplings, mix once through and serve.

Garnish with chopped coriander leaves and serve with chapatis / roti.