Friday, October 9, 2009

Perfect Pumpkin Custard

When I posted a pumpkin custard recipe a week ago I said I didn't have time to refine it any further. Well, I lied. My in-laws have come to visit and so I took the recipe for another spin. Further research on the interwebs revealed a recipe by Bryanna that used corn flour to thicken the custard and give it colour. I gave this a try and I also revised the method to make the whole thing easier.
INGREDIENTS
Makes 4 custard cups
- 1/2 cup sugar
- 1/2 tsp cinnamon
- 1/4 tsp nutmeg
- 1/4 tsp ground ginger

- 2 cups plain soy milk
- 1 tbsp agar agar flakes
- 2/3 cup sugar
- 1/2 cup coconut cream
- 1/2 cup pumpkin puree
- 1 tsp vanilla
- 1 1/2 tbsp arrowroot
- 1 tbsp corn flour

METHOD
Preheat oven to 350 degrees. Get a kettle of water boiling.
1. Grease 4 ramekins (with 1 cup capacity).
2. Place sugar in a saucepan over med-lo heat. While sugar is heating, mix soy milk and sugar in a saucepan and sprinkle agar overtop. Without stirring, heat sugar until it caramelizes (turns brown and liquefies). Shake pan to melt all the sugar. Add spices, quickly stir in, then quickly pour 1/4 of mixture into each ramekin to coat the bottom. Set ramekins aside.
3. Heat soy milk and sugar over medium heat. Bring to bubbling, stirring constantly, until agar is fully dissolved. Set aside. Whisk together coconut cream, pumpkin puree, arrowroot, corn flour, and vanilla. Whisk pumpkin mixture into the soy milk mixture until smooth. Pour into the four ramekins.
4. Place ramekins in a 9 x 13 pan, and fill pan with boiling water, no more than 1/3 the way up the ramekins. Bake in the oven for 40-45 mins, until top has browned and center has set.
5. Cool in the fridge until custard has fully set.

This recipe yields a more delicate custard than the first recipe. I found it tasted best at room temperature, but that it needed to fully cool (and get cold) to be able to hold its shape when inverted out of the ramekin. You may just want to skip the inverting part and serve it straight out of the ramekin itself.

Condensed Milk Pound Cake - Step by Step Recipe

Its Friday and I am quite exhausted. The past few weeks have been a whirlwind at work and I haven't been able to do things outside of it as much as I'd have liked to. But let's talk about some condensed milk goodness and work on the stress, shall we?

I can't begin to talk about how much I love condensed milk. When I was small, I used to add it to toast, dip plain vanilla cake in it, top my cupcakes with it, have it with roti, dosa, you name it! Even now, I almost always have a tin of condensed milk in the pantry, ready to get added to anything that takes my fancy.

That's a lot of talk for a tired girl so on to the recipe now. This condensed milk pound cake clearly won over a fool-proof one banana-banana bread I made recently, in this poll, so on to the recipe, one step at a time.

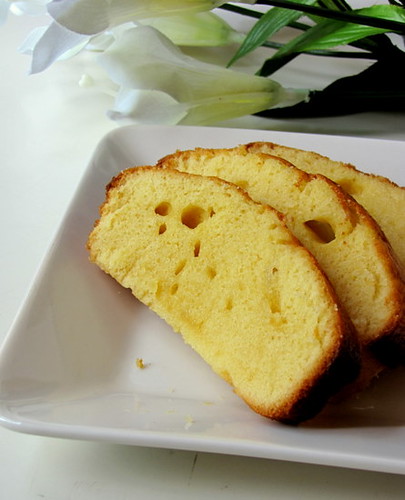
As always, a dish of the final good stuff. There's a reason why my cake looks a bit dense and hole-y. More about that in a bit.


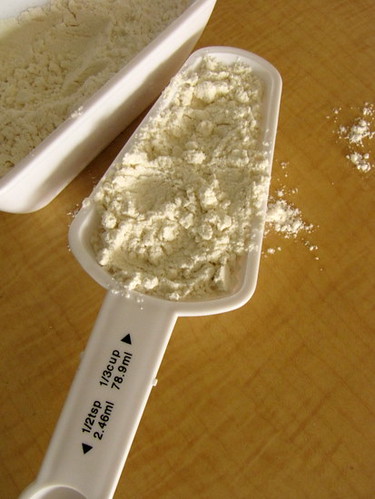
Let's the flour first. 1 1/3 cup all purpose flour or maida.

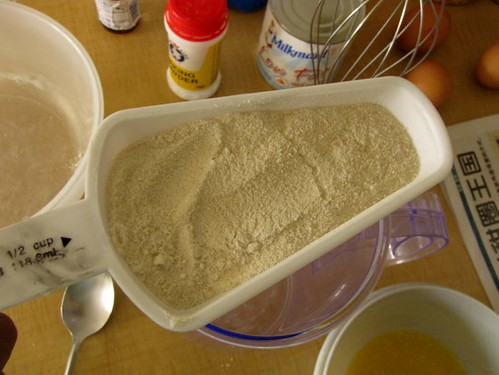
Add that into a sieve with 3/4 tsp baking powder.

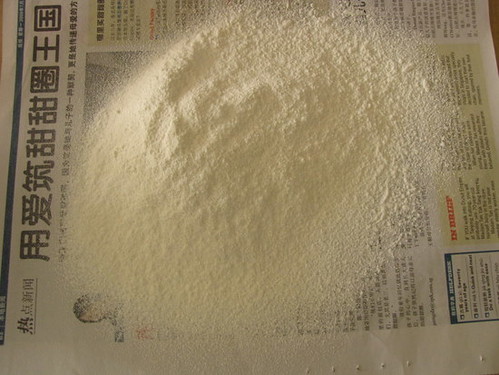
Sieve about thrice until the baking powder and the flour are well combined.

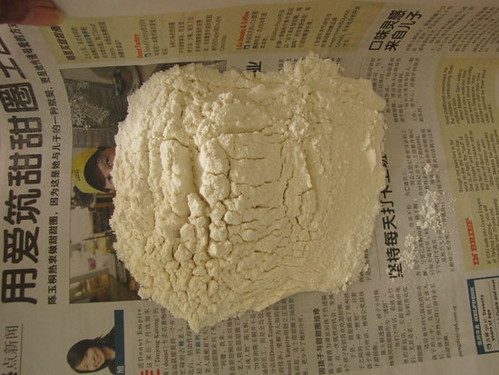
Bring together the sieved flour from all four corners of the paper. Yes, that's the paper we get every morning. TH and I can totally read Mandarin (not!).

Next, we need 1 cup powdered sugar. I used brown sugar but white will work just fine. Add this to a bowl.

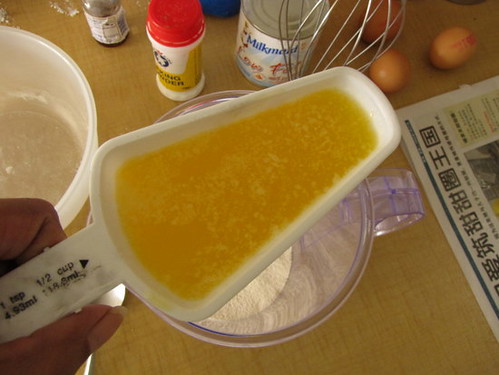
Top this off with 1 cup soft butter. I slightly melted it because I forgot to keep it out before baking but butter at room temperature is what we need here.

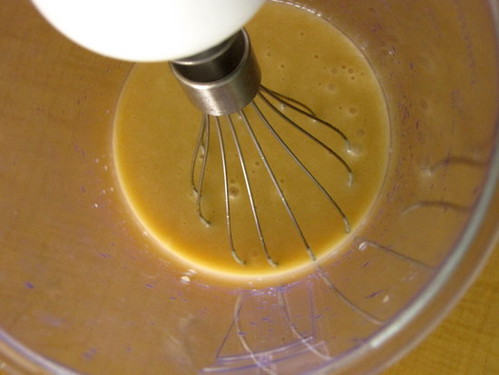
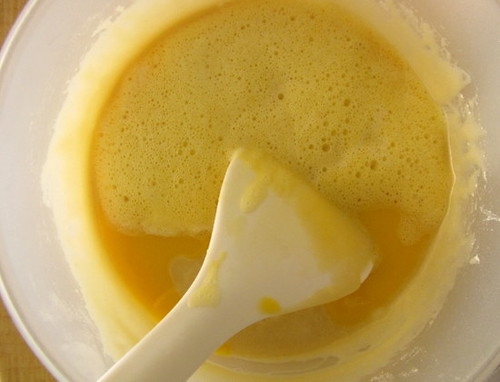
Beat the butter-sugar mixture well using an electric beater for 2 mins until fluffy. If using hand, beat well for about 5 mins.

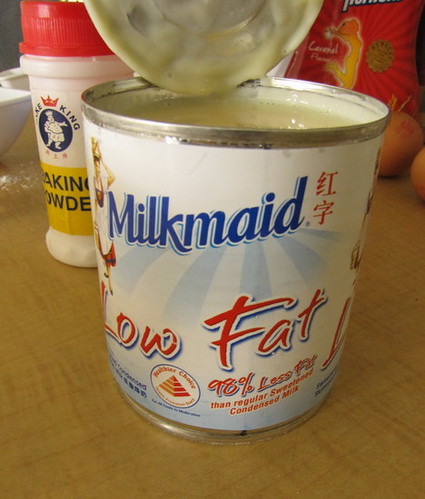
Open the milkmaid can. Lick off the excess on your fingers, smell it, lick some more. Come on, I insist.

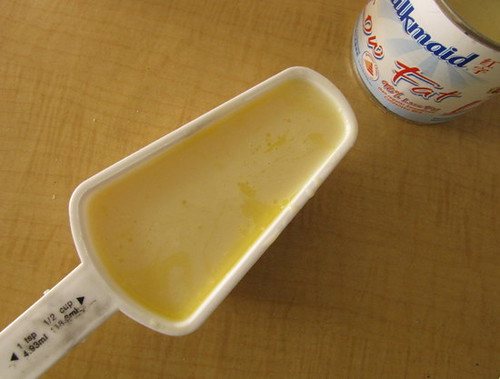
Once you are done with the above, measure out 1 cup of it and add it to the butter-sugar mixture.

Beat for another 2 mins (or 5 mins by hand).

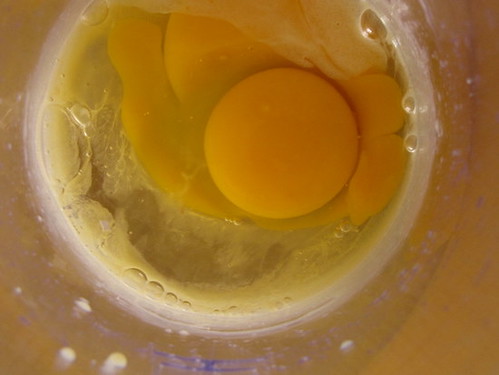
Break 2 eggs in another bowl and whisk for 2 mins using a fork. Set aside.


Add the whisked butter-sugar-condensed milk mixture to the flour mixture with one pinch salt. Mix until just combined.

Top it off with the whisked egg. Combine gently without beating.

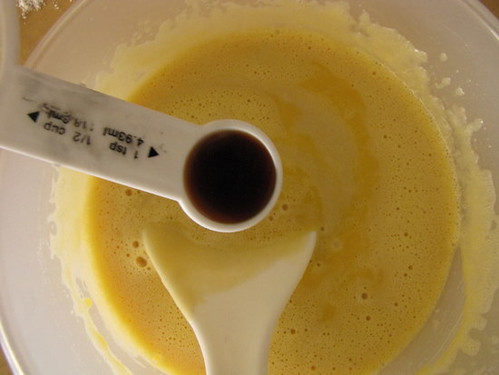
Add 1 tsp vanilla essence to the batter and swirl around a few times.

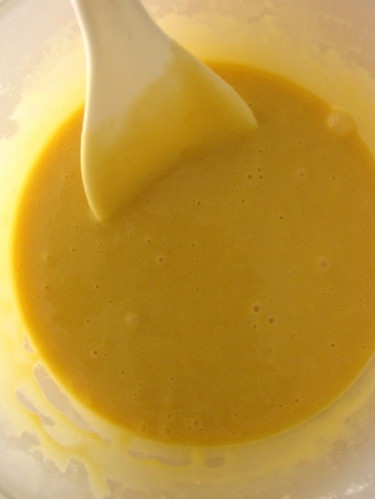
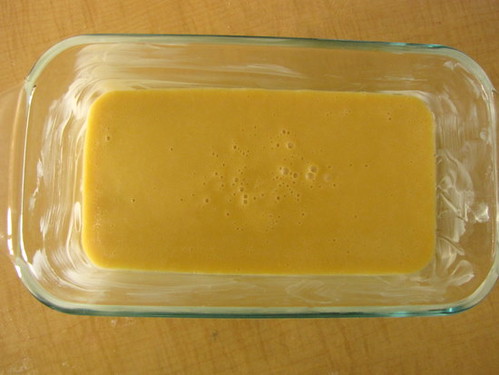
There we have our batter.

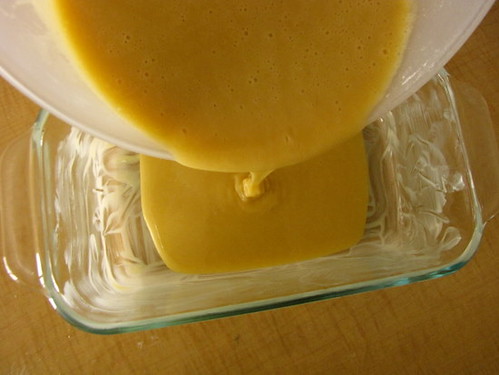
Pour into to a greased loaf pan or cake tin.

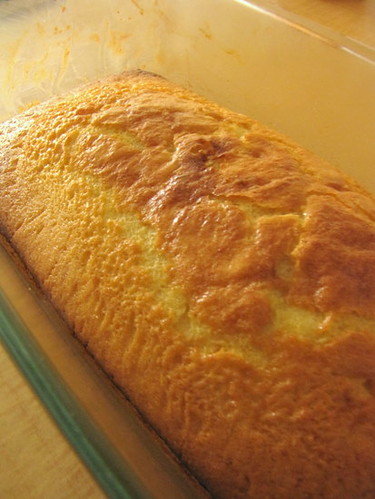
All set to go into the oven. Bake in a preheated oven at 180C for about 30 mins until a toothpick inserted into the center comes out clean.

The top will turn golden brown and the cake will rise to almost double the amount of batter.

Ok, now the story of my cake. I forgot to set my oven temp to 180C so the cake baked in a really hot 220C oven for 30 mins and the sides started burning while the center was still fudgy. I had to take it out at that time so the cake wasn't as soft as it can be.

Still, this was one good cake, have to say!

Here's the recipe, all in one place.
Condensed Milk Pound Cake
Recipe adapted from here.
Makes an 8" square cake or one standard sized loaf

What I Used:

1 1/3 cups all purpose flour or maida
1 cup sweetened condensed milk
1 scant cup powdered sugar (I used a little over 3/4 cup)
1 cup unsalted butter at room temperature
2 eggs
3/4 tsp baking powder
1 tsp vanilla essense
1 pinch salt

How I Made It:

1. Sieve the flour and baking powder until well combined. You can also whisk it well in a bowl until combined, if you don't have a sieve.

2. Beat butter and sugar together until soft and fluffy - 5 mins by hand, 2 mins by electric beater. Then add the condensed milk and repeat for the same time, until well combined.

3. Whisk eggs in a bowl for 2 mins with a fork and set aside.

4. Add the flour to the butter-sugar-condensed milk mixture and mix until just combined without beating too hard.

5. Add the eggs, vanilla essence and salt and combine well again.

6. Transfer to a greased cake tin or loaf pan and bake in a pre-heated oven at 180C/325F for 30-35 mins. Insert a toothpick at the center to test if the cake is done.

7. Cool, slice and serve.
A bunch of us are having some fun on the Edible Garden fans page on Facebook where I occasionally treat members to some giveaways. Want to join us? Click here!

Tuesday, October 6, 2009

Thanksgiving Mini Pot Pies with Roasted Mushroom Gravy

Canadian Thanksgiving is just around the corner so I took our holiday meal for a test run. I am not in the mood for seitan this year--for some reason it just does not appeal. Obviously, this recipe isn't breaking the mold but it really is tasty. After all, Thanksgiving dinner is really like a big plate of pot pie anyway. I suppose that means this entree might be a bit redundant, except that the roasted mushroom gravy takes it to another level. In fact, you might want to make extra gravy to pour over all those other fall veggies you will be serving.

INGREDIENTS
Makes 8 individual pot pies
Roasted Mushroom Gravy
- 8 oz cremini mushrooms, sliced
- 4 shallots, unpeeled
- 4 cloves garlic, unpeeled
- 2 tbsp oil
- salt and pepper
- 2 tbsp margarine
- 2 tbsp flour
- 1 cup plain soy milk
- 1 cup water
- splash of mushroom soy sauce (optional)
- sage and thyme to taste
- salt and pepper to taste

- 1/2 recipe puff pastry (sub margarine for butter)
- 6 small potatoes, thinly sliced
- 3 large carrots, thinly sliced
- 19 oz can white kidney beans
- 1 cup (or more) fresh cranberries

METHOD
Preheat oven to 400 degrees
1. Toss sliced mushrooms, shallots, and garlic in olive oil. Spread out on a baking sheet and sprinkle with salt and pepper. Roast for 20 mins, turning a few times to keep from burning. Remove from oven, let cool, the peel and chop shallots and garlic.
2. Heat margarine in a saucepan over medium heat. Add flour and stir. Let flour darken slightly, then add chopped shallots and garlic. Slowly add soy milk, water, and mushrooms and bring to bubbling. Add soy sauce, if using. Season to taste with spices and salt and pepper (I like a really sagey gravy). Remove from heat and set aside.
3. Bring a medium pot of salted water to a boil. Blanch potatoes for 1 min, then remove with a slotted spoon and drain. Repeat with carrots.
4. Lightly grease 8 ramekins (1 cup capacity). Spoon a layer of gravy on the bottom. Top with a layer of sliced potatoes, then carrots. Top that with another layer of gravy, then top with beans and cranberries. Top with more gravy, then a final layer of potatoes. Note: don't go too crazy on the gravy or your pies will bubble over and make a huge mess. It's OK to have some gravy left over.
5. Roll out puff pastry to about 1/2" thick and cut into circles to fit the top of the ramekin (use the leftovers to make turnovers). Top each pot pie with the pastry, then bake for 20-25 mins, or until pastry is golden and gravy is bubbling.