I love fresh methi or fenugreek leaves for the slight bitterness they add to any dish. Methi dal is the usual favourite for TH and me. Each time I go to Little India, I scout around for a bunch. They are not very easy to find so when I do get them, I wrack my brain on what to make with it.
Methi Paratha was the outcome one such weekend. I checked out many recipes online and a couple of cookbooks have. There are two ways to make methi paratha:
1. Make a spiced stuffing like you do for aloo paratha or gobi paratha and make methi parathas the same way.
2. Chop up the leaves and add them to the atta while making the dough and make parathas as normal.
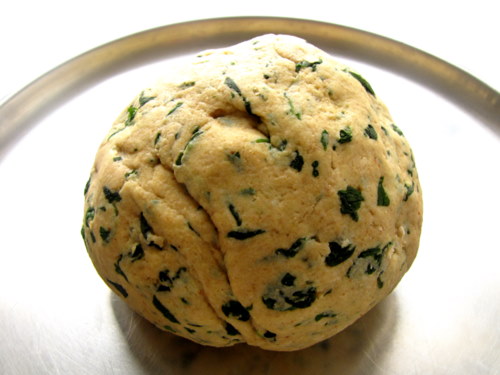
I decided to go midway between the two options.
Methi Paratha Recipe
Makes: 6 parathas
What I Used:
4 cups packed fresh methi / fenugreek leaves, cleaned and chopped fine
2 green chillies, chopped fine
1" piece ginger, grated
1/2 tsp powdered jeera / cumin seeds
1 tsp oil
Salt to taste
5 cups atta / wheat flour
Water as needed
Ghee or butter to make the parathas
How I Made It:
1. Heat the oil and add the jeera. After about 5 seconds, add the ginger, methi leaves, green chillies and some salt. Stir until the leaves start to wilt and get lightly toasted. Don't cook it for more than 7 mins. Let this mixture cool.
2. Add the spiced methi mixture to the atta, more salt if needed and enough water to make a soft, pliable dough. Divide into 6 equal-sized balls. Roll out each and cook on a tawa or griddle until both sides are golden brown.
3. After removing from fire, pat ghee or butter on both side and keep covered to maintain softness.
Serve warm with mango pickle and curds.
Showing posts with label Vegetarian. Show all posts
Sunday, March 7, 2010
Wednesday, February 10, 2010
Lemon Rasam Recipe
My mom only makes one kind of rasam. Its watery, peppery, has no dal, and is ready in 7 mins flat. After getting married to a Tam Brahm I realized there are close to a gazillion different types of rasam and then some more. If dal or paruppu is added to rasam back home then we explicitly call it paruppu rasam and it resembles sambar, although taste-wise, its quite different.
Lemon Rasam Recipe
Source: TH's mom aka repository of unending rasam recipes
What I Used:
1 marble-sized ball of tamarind (remember the lemon will make the rasam more sour)
Half a lemon
1/2 cup cooked and mashed toor dal / thuvaram paruppu / pigeon peas (optional)
1 small tomato, chopped
A 1" piece of ginger, cut into small pieces
2 green chillies, or to taste
2 tsp sambar cum rasam powderA pinch of turmeric powder
Salt to taste
For tempering:
1 tsp ghee or oil
Some mustard seeds
A pinch of asafoetida / hing / perungaayam
Curry leaves
Coriander leaves (for garnish)
How I Made It:
1. Soak the tamarind in 1 cup warm water for 10 minutes. Kneading with your fingertips, extract juice and discard pulp.
2. Take the tamarind extract in a bowl and add the chopped tomatoes, dal if using, slit green chillies, ginger, sambar cum rasam powder, turmeric powder and some salt. Bring to boil and simmer on low fire for 10 mins. Mash up the tomato well once its cooked and soft.
3. Next add another cup of water. Bring to boil. Test salt and tanginess. Remove from fire and while hot, add the juice from half a lemon.
4. Heat a small kadai and add the ghee or oil for tempering. Add all other ingredients and when the mustard seeds start popping, dunk into the rasam.
Serve hot with white rice and paruppu usili.
Anyway, long story short, now I am introduced to the world of rasam where every single variety has a unique taste not just on the ingredients used but also depending on who makes it. Isn't that mindbogglingly amazing?
Let's just say yes and move on shall we.
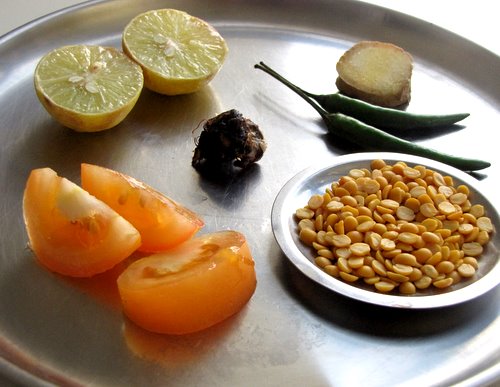
Ingredients for lemon rasam
Lemon rasam is interesting to me for two reasons. Lemon or lime totally rocks. Although I would still choose a molten chocolate cake over a lemon pie for dessert, as a fruit, I respect lemon. It really packs a lot of stuff in its small yellow self. Another reason why this lemon rasam calls out to me is addition of fresh ginger. Gotta love that.
I have tried this rasam with and without adding cooked toor dal. The lighter version makes for a quick and easy kozhambu on weeknights and the other can be made if you are serving with a light vegetable curry on the side and nothing much else.
Lemon Rasam Recipe
Source: TH's mom aka repository of unending rasam recipes
What I Used:
1 marble-sized ball of tamarind (remember the lemon will make the rasam more sour)
Half a lemon
1/2 cup cooked and mashed toor dal / thuvaram paruppu / pigeon peas (optional)
1 small tomato, chopped
A 1" piece of ginger, cut into small pieces
2 green chillies, or to taste
2 tsp sambar cum rasam powderA pinch of turmeric powder
Salt to taste
For tempering:
1 tsp ghee or oil
Some mustard seeds
A pinch of asafoetida / hing / perungaayam
Curry leaves
Coriander leaves (for garnish)
How I Made It:
1. Soak the tamarind in 1 cup warm water for 10 minutes. Kneading with your fingertips, extract juice and discard pulp.
2. Take the tamarind extract in a bowl and add the chopped tomatoes, dal if using, slit green chillies, ginger, sambar cum rasam powder, turmeric powder and some salt. Bring to boil and simmer on low fire for 10 mins. Mash up the tomato well once its cooked and soft.
3. Next add another cup of water. Bring to boil. Test salt and tanginess. Remove from fire and while hot, add the juice from half a lemon.
4. Heat a small kadai and add the ghee or oil for tempering. Add all other ingredients and when the mustard seeds start popping, dunk into the rasam.
Serve hot with white rice and paruppu usili.
Labels:
Daal,
Rasam Sambar Kozhambu,
Simplest Recipes,
Tamil Recipes,
Vegetarian
Monday, February 8, 2010
Arbi / Colocasia / Cheppankizhangu Fry Recipe
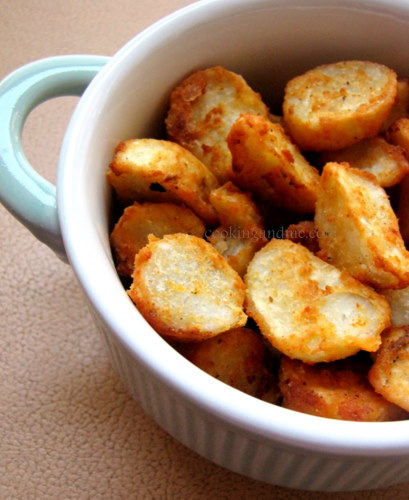
I am not going to go yap yap yap through this recipe. The pictures will do the talking.
Oh just one thing. If you are like me and used to turn down cheppankizhangu because its too "slimy" then this dish will make you rethink. Well, its fried, that's a no-brainer but apart from that, it also brings out the unique flavour this tuber has.
What you need to make the Cheppankizhangu Fry (apart from a mother-in-law who cooks this for you and waits patiently while you click pictures at every step)
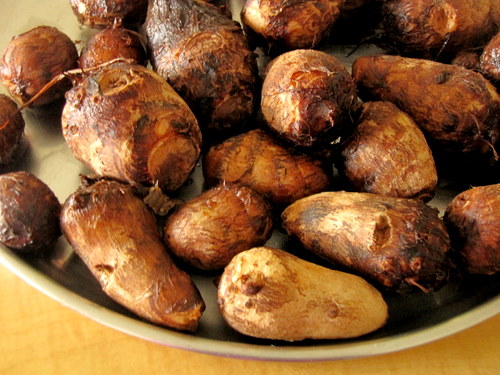
500gm cheppankizhangu / arbi/ colocasia / chembu
5 tbsp (more or less) rice flour
1 tbsp besan / kadala maavu / gram flour (optional - you can also use rava / semolina instead)
2 tsp red chilli powder
A generous pinch of turmeric powder
A generous pinch of asafoetida / perungaayam / hing
Salt to taste
Oil to deep fry
Let's get started. Here's how to make the Cheppankizhangu Fry.
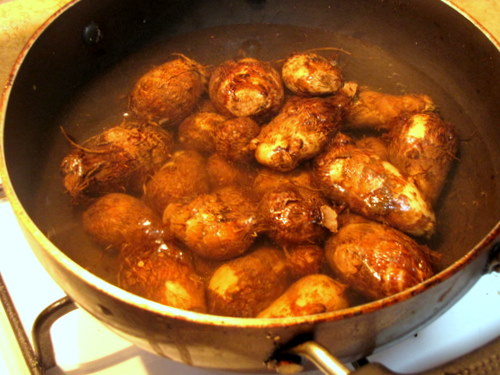
1. Wash and boil the Cheppankizhangu in enough water to cover it for about 10-12 mins until it is cooked but not mushy. Its better not to pressure cook to avoid over-cooking.
2. Cool. Yes, you also need a little patience to make this dish. That's why my mom-in-law made it while I just watched her, snacking on murukku and clicking pictues like its going out of fashion.
3. Once cooled, peel and cut into small, bite-sized pieces that are of the same size more or less. This is so that when you fry the stuff, it gets cooked uniformly.
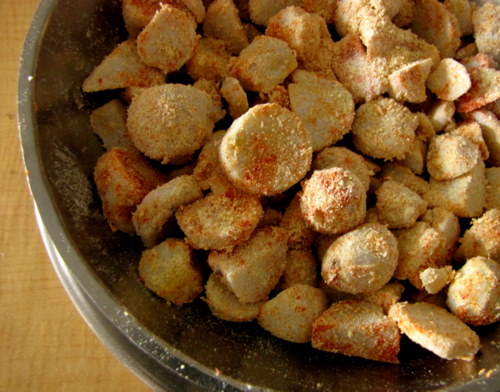
4. Throw in the rice flour, besan if using, chilli powder, salt, hing and turmeric and toss until well coated. Set aside for 10-15 mins while you heat up the oil for deep drying.
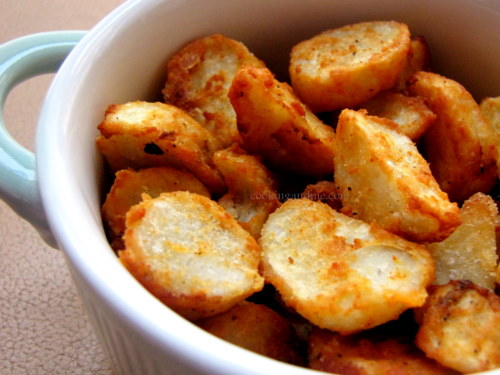
5. Once the oil is hot enough, fry a few pieces at a time until golden brown.
If there's any left after your initial snacking, you can serve with rice and mor kozhambu / moru kachiyathu. I'm told its a good combination.
Oh just one thing. If you are like me and used to turn down cheppankizhangu because its too "slimy" then this dish will make you rethink. Well, its fried, that's a no-brainer but apart from that, it also brings out the unique flavour this tuber has.
What you need to make the Cheppankizhangu Fry (apart from a mother-in-law who cooks this for you and waits patiently while you click pictures at every step)
500gm cheppankizhangu / arbi/ colocasia / chembu
5 tbsp (more or less) rice flour
1 tbsp besan / kadala maavu / gram flour (optional - you can also use rava / semolina instead)
2 tsp red chilli powder
A generous pinch of turmeric powder
A generous pinch of asafoetida / perungaayam / hing
Salt to taste
Oil to deep fry
Let's get started. Here's how to make the Cheppankizhangu Fry.
1. Wash and boil the Cheppankizhangu in enough water to cover it for about 10-12 mins until it is cooked but not mushy. Its better not to pressure cook to avoid over-cooking.
2. Cool. Yes, you also need a little patience to make this dish. That's why my mom-in-law made it while I just watched her, snacking on murukku and clicking pictues like its going out of fashion.
3. Once cooled, peel and cut into small, bite-sized pieces that are of the same size more or less. This is so that when you fry the stuff, it gets cooked uniformly.
4. Throw in the rice flour, besan if using, chilli powder, salt, hing and turmeric and toss until well coated. Set aside for 10-15 mins while you heat up the oil for deep drying.
5. Once the oil is hot enough, fry a few pieces at a time until golden brown.
If there's any left after your initial snacking, you can serve with rice and mor kozhambu / moru kachiyathu. I'm told its a good combination.
Thursday, February 4, 2010
Nan On Tawa or Tawa Naan Recipe - Step by Step
Naan or Nan is TH's favourite bread. That and palak paneer are his absolute favourite dishes to order in a restaurant. I recently got the book Artisan Bread in 5 Minutes a Day from the library and got totally smitten by it. I don't have most of the stuff that they have mentioned as requirements, like pizza peel and oven thermometer and baking stone and even a proper oven to do broiler method of baking in but this, this Tawa Nan I could try.
The dough is the master Boule recipe mentioned in Artisan Bread in 5 Minutes a Day
. I halved the recipe since I only wanted to use it for Nan the first time around.
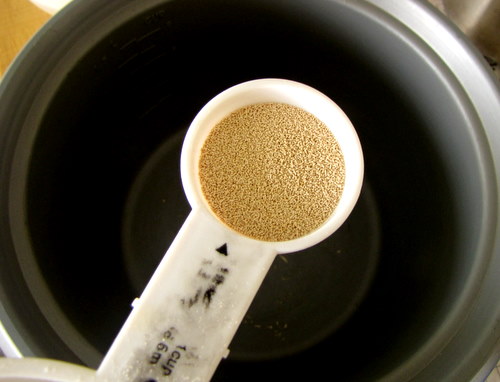
Here's what we need first - 3/4 tbsp of active dry yeast. Please make sure that its fresh and not past the expiration date. Why do I mention this explicitly? Err... no particular reason. Let's move on.
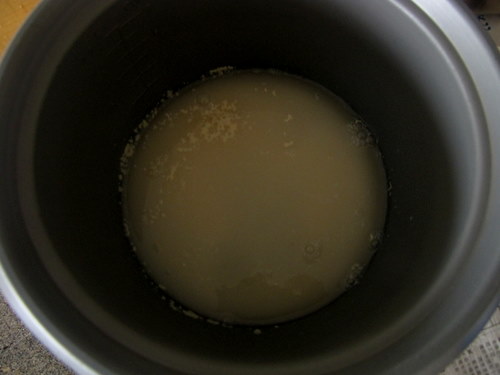
Throw the yeast in a bowl with 1.5 cups of lukewarm water. I warmed my water in the microwave for a minute on medium-high powder. The recipe says no need to dissolve the yeast or anything but I secretly made sure it is dissolved. You see, nothing wrong in being extra careful.
Yes, I check atleast twice if the front door is locked before I go to bed. Why do you ask?
Btw, the below picture is not pretty.
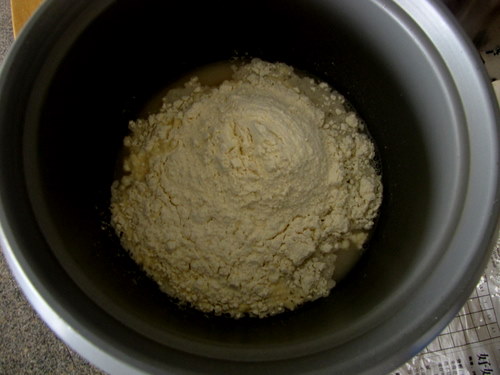
Told ya! Just add 3 and 1/4 cups of all purpose flour and a generous pinch of salt to it and the prettiness factor increases exponentially.
See?
Ok, now bring the mixture together with your fingers. No need to knead. Heh. You'll be left with a sticky mass of dough. Just leave it covered somewhere for about 20-30 mins.
I left it alone for around 20 minutes and it almost doubled. The recipe says not to worry about doubling, etc so I didn't. I always listen to what cookbooks say. Ok, almost always.
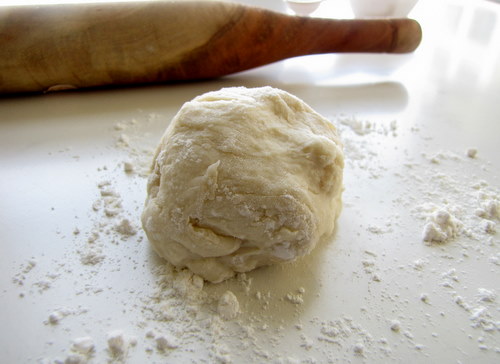
The dough will be sticky and very elastic. Dig your hand in some flour and tear off a peach-sized piece.
Lay it on a floured surface (my 'surface' is this).
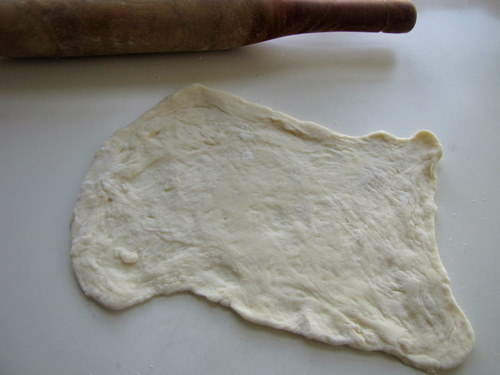
With the use of your hands and/ or your rolling pin, stretch out the dough till you form a nan shaped... err.. thing. Mine is square cuz TH wanted square naans. What? You don't believe me? Its true!
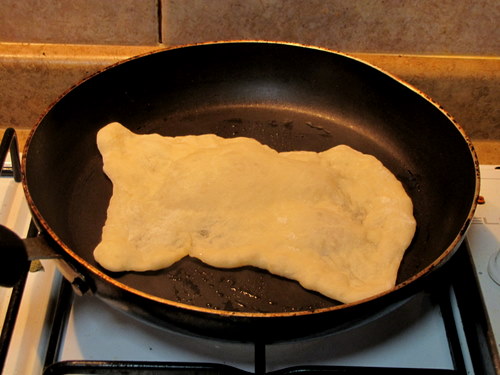
Heat a skillet on high heat, brush on some ghee or oil, lower the heat to medium and lay the nan on carefully.
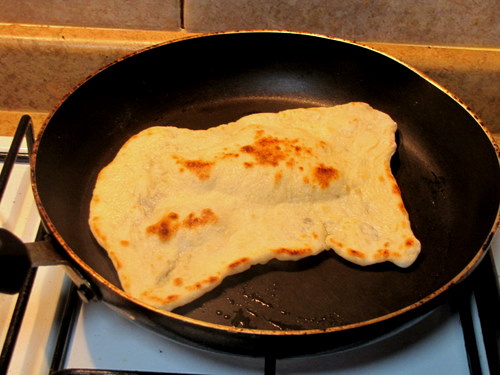
Flip over in about 2 mins when the first side starts browning.
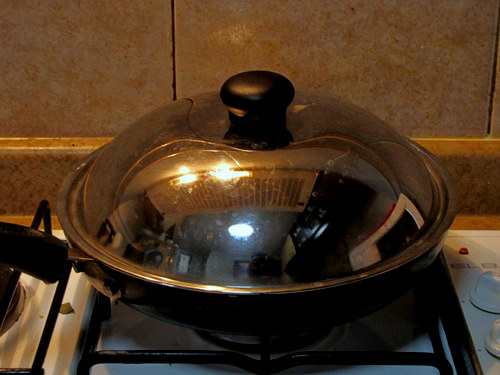
Cook closed for 30 seconds to a minute now, depending on the thickness of your nan, which shouldn't be too much, btw.
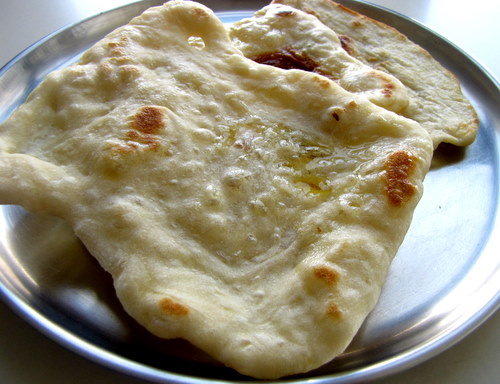
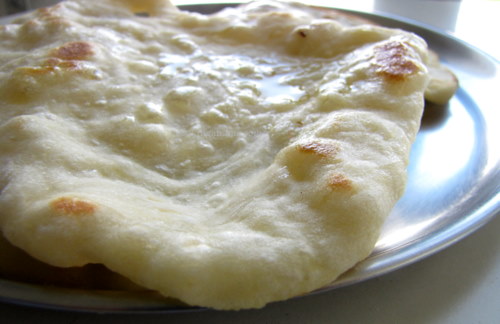
That's it! Yummy, spongy, soft nans are now ready.
The texture and taste was awesome and we loved it. Just make sure to have it when still hot otherwise the nan may turn a bit rubbery. That's to be expected right, even the ones baked in tandoors that we get in restaurants turn all hard on us if we don't eat it immediately.
Reminds me of pizza base. Ahh.. pizza base from scratch! That's what I am making next.
Here's the recipe, all in one place.
Tawa Naan / Nan Recipe
Source: Artisan Bread in 5 Minutes a Day
What I Used:
1.5 cups lukewarm water
3/4 tbsp yeast
3 and 1/4 cups of all purpose flour
A generous pinch of salt
How I Made It:
1. Dissolve the yeast in the water. Add in salt and the flour, incorporate well until a sticky dough is formed. No kneading necessary.
2. Set aside covered for 20-30 mins.
3. Tear or cut off with a serrated knife peach-sized amounts and transfer to a floured surface. Shape into oblong nans with help of rolling pin if necessary. Make sure there are no holes in the nan once you are done rolling it out.
4. Heat a skillet on high heat, brush on some ghee or oil, lower the heat to medium and lay the nan on carefully.
5. Flip over in about 2 mins when the first side starts browning.
6. Cook closed for 30 seconds to a minute now, depending on the thickness of your nan.
Serve HOT.
Subscribe to:
Posts (Atom)