
A bunch of you have been complaining about the rice recipes I have been posting over the last couple of weeks saying if I post all the rice recipes, then what do you all send me for The Monthly Mingle :D Its a good point, but don't hesitate to send me the same dish. I am sure that the same dish can me made a zillion different ways and it will be interesting to see that too.
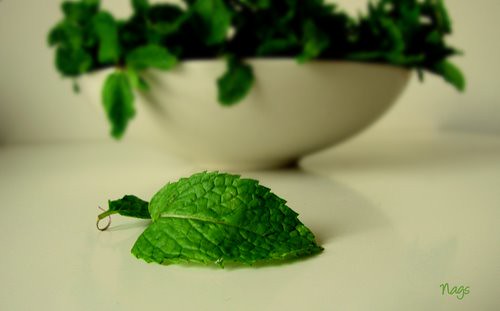
Anyway, I made this mint rice about a month back because I got a huge bunch of mint leaves from the Indian vegetable market and had no clue what to do with it all. There is only so much you can use up to make mint chutney, right?
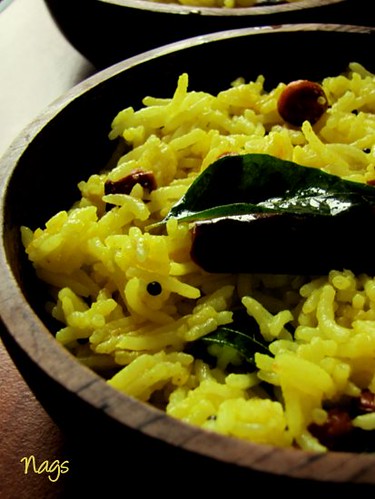
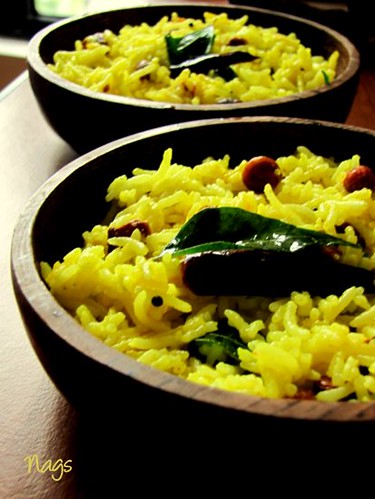
The rice came out super nice and since TH is a huge mint fan, he loved it too!
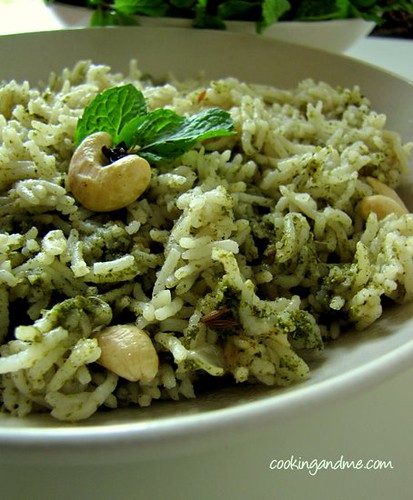
Pudina Pulao / Mint Rice
Serves : 2 to 3
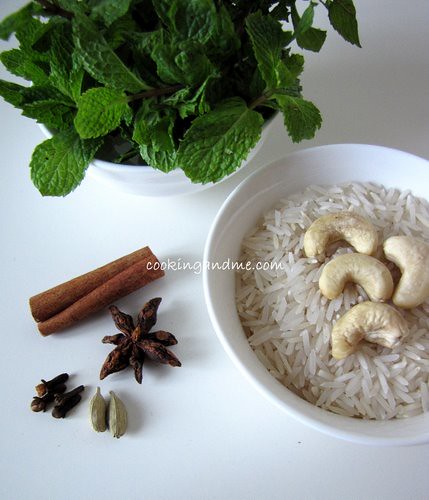
What I Used:
2 cups rice (I used basmati rice)
2 cups fresh mint leaves / pudina, lightly packed
1 onion, chopped fine
3 to 4 green chillies
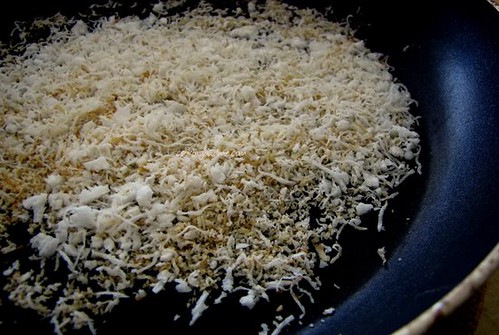
¼ cup grated coconut (fresh works best, frozen will do too)
1 tbsp ginger garlic paste
4 cloves
4 green cardamom pods
1" piece of cinnamon
1 star anise
1 bay leaf
1 tbsp ghee
12 roasted cashews for garnishing (optional)
Salt to taste
How I Made It:
1. If using basmati, soak the rice in 4 cups water for half an hour and cook in pressure cooker for 1 whistle. Once pressure leaves the cooker, spread out on a plate and let it cool without clumping. If using rice cooker or any other method, cook until the rice is done yet firm.
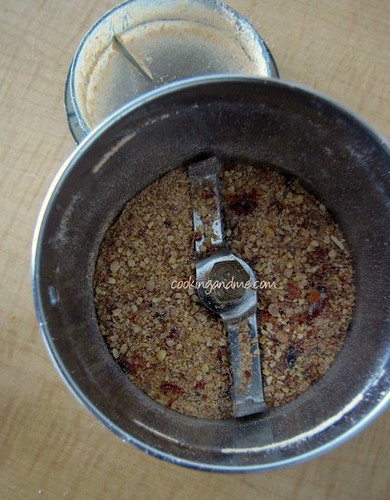
2. Grind the mint leaves with the coconut, green chillies and ginger / garlic (if using fresh) to a paste.
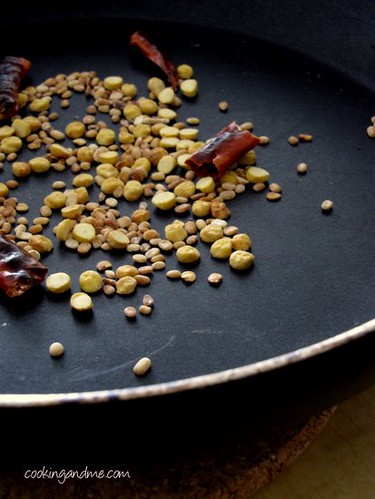
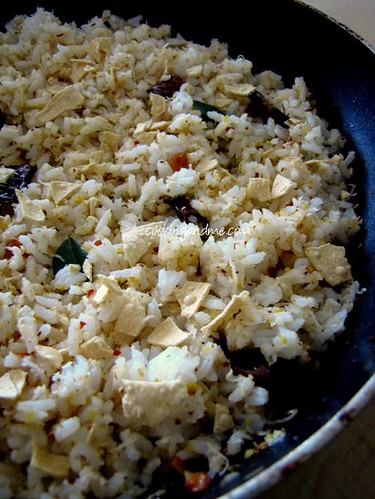
3. Heat ghee in a pan and roast the cashews until golden brown (if using) and drain. Add the spices - cardamom, cloves, cinnamon, bay leaves and star anise - and saute for about a minute, taking care not to burn them. Then add the chopped onions and saute unil it turns transparent.
4. Add the ground paste to the pan and fry for about 2 to 3 mins until it turns fragrant. Again, take care not to burn! Add salt.
5. Mix in the cooled rice without breaking it too much. Garnish with the roasted cashews and serve with a raita of choice.
Rush in your rice recipes (mixed rice, biryani, pulao, poha, rice flour, etc) for this month's Monthly Mingle - Ravishing Rice event at Edible Garden. Last date for entries is June 15, 2009.


 Although I am still convinced that vegan cupcakes will indeed take over the world, I am now starting to think that vegan brunch is also key to global domination. Case in point: the
  First up: pancakes and pumpkin french toast. The pancakes are a repeat from Vegan With a Vengeance, but who cares? These are still the best pancakes around, vegan or not, hands down. The french toast was also spectacular--soft and moist with the perfect spice blend to complement the maple syrup.
 Joining the brunch party were these baked hash browns. The great thing about these is that your house does not have to smell like frying oil, and you can put them in the oven and forget about them while you make the rest of brunch.
 Finally, Tofu Benny. I have never had eggs benedict so I have no idea if this is a good likeness or not. But I also don't care. This dish is so amazing it has now become one of my brunch staples. Mine doesn't look half as nice as the picture in the book, but it tastes great. I am definitely going to use the hollandaise sauce for other things, too.
 Let the canning begin! My plan this summer is to can and preserve as much as I can so we can rely less on canned food. Fresh and local is the way to go, right? The grocery store has had Vidalia onions on for real cheap lately (not even close to local, I know) and that got me thinking about the Vidalia relish I used to buy at Trader Joe's. Man, that stuff was good. With a little Googling I found


 Next up, potato quesedillas with the pepper jack. I did sample some of the cheese before cooking and, quite frankly, the texture was terrible: grainy, yet pasty. But, when melted in the quesedilla, it was much better.


