Dear Readers,
I have a minor announcement to make. Ready? Get set... My culinary point of view has changed.
Did that come out of nowhere? Maybe not. Maybe you've seen it coming. If you think about it, it probably should have changed by now. Now that I've braised previously obscure (to me) meat cuts, layered a dacquoise, and gilded eclairs.
When I first started this blog, I envisioned cake wreck after cake wreck. I assumed that the dramatic collapse of my
Devil's Food Layer Cake with Peppermint Frosting—my eventual first post—was going to be the norm and pictured Bon Appétempt as the food equivalent of those occasions on Project Runway when real women instead of models pop out into the work room and all of the designers’ faces fall in sadness. My version of the recipe would be that real woman, the size 8+ woman that is so much harder to fit than those headless mannequin busts. And so, my version would call bullshit on those gourmet magazines with their team of trained chefs, food stylists and professional photographers. My version would be destined for failure and not only would that be OK, it would sometimes be hilarious.
But now, a year of attempts later, I must say that I no longer want the same thing...necessarily. (I don't want things
not to be hilarious.) Maybe I should put it another way: I no longer necessarily want to call bullshit on the beautiful photography found in food magazines and cookbooks. Because the truth is I've come to love these images and the recipes attached to them. These publications haven't just gotten me to the grocery store and into my kitchen; they've inspired me to appreciate the tasks.
In the colossal, formerly adversarial,
French Laundry cookbook, Thomas Keller sums up quite wonderfully what I believe I've learned:
"Cooking is not about convenience and it's not about shortcuts... Take your time. Take a long time. Move slowly and deliberately and with great attention.
These recipes then, although exact documents of the way food is prepared at the French Laundry, are only guidelines. You're not going to be able to duplicate the dish that I made. You may create something that in composition resembles what I made, but more important—and this is my greatest hope—you're going to create something that you have deep respect and feelings and passions for. And you know what? It's going to be more satisfying than anything I could ever make for you."
Aghhhh. What started as poking fun, as just funnin' in the kitchen, has turned somewhat life-changing and serious. I can't believe it. I've got to go chill out with an
SNL digital short.
With all that finally said, the timing is perfect to share with you a seriously inspired meal I made with my dear dear friend, Mary Anne—of
shorty cake and
Buche de Noel fame—while visiting her in Seattle.
John Pawson and Annie Bell's cookbook,
Living and Eating, has kind of blown my mind. The architect and food writer, respectively, are all about paring dishes down to the essentials, and while most of the recipes aren't exactly simple to me, the book does make a compelling case for letting go of some of the showiness that can quietly creep into recipes and entertaining. This book reminds us that a very satisfying three-course meal can consist of radishes and butter, a roasted chicken, and stewed fruit. Not to mention the photography includes some of my favorite food images to date. From my first read, I had major designs on their Squid Ink Risotto with Scallops (pictured on left), and Perail and Endive (on the right) found in the cheese course section.
After I explained all of this to Mary Anne and she corrected my pronunciation of perail (it's per-ay), we planned our menu:
Arugula with Lemon Dressing and Parmesan
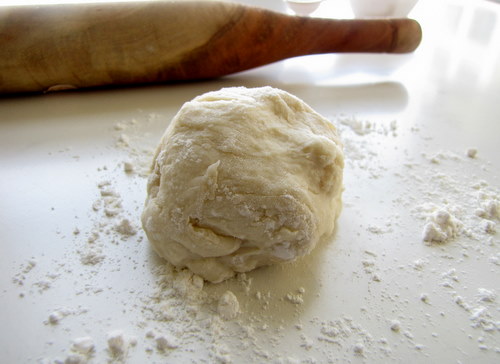
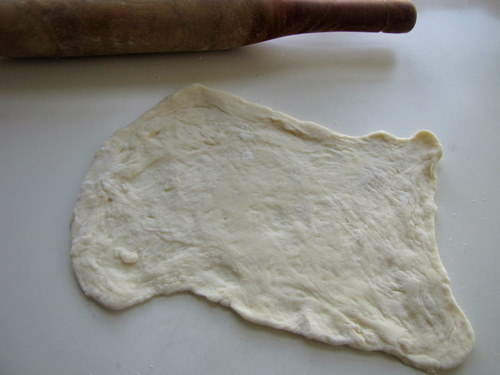
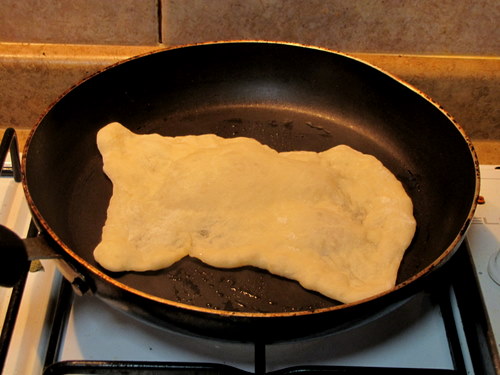
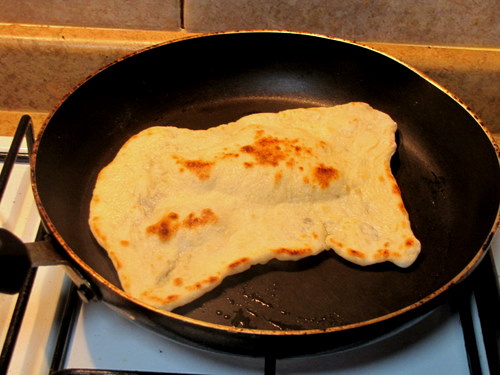
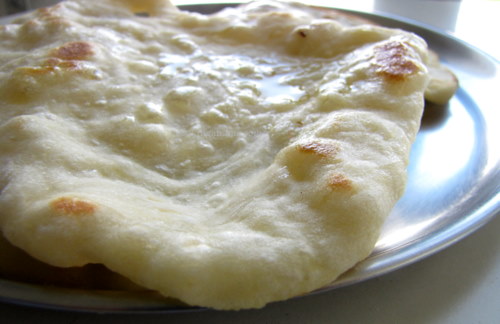
Bread and Baked Garlic
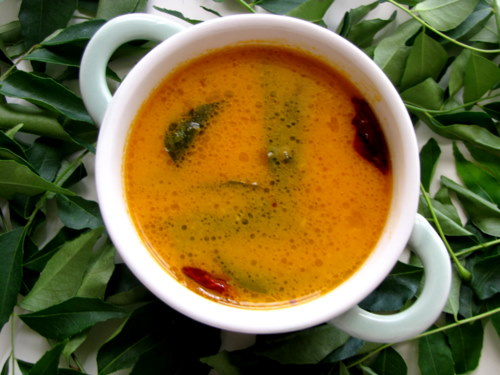
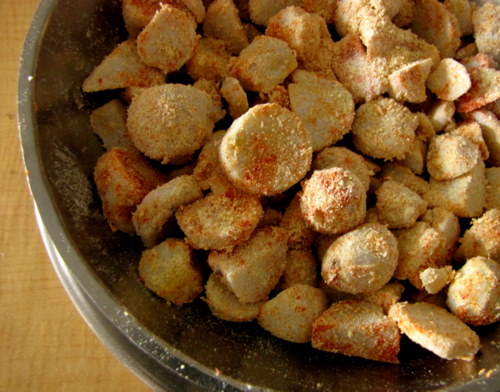
Squid Ink Risotto with Scallops
Perail and Endive
Chocolate Tart
Though where we ended up was a little different—mainly due to the fact that I forgot to bring the squid ink recipe with me on the trip. So, after some Googling, we settled on
Spicy Squid Ink Risotto a recipe similarly tempting by Kerry Saretsky for Serious Eats.
If the words squid ink turn you off, just call it Tinta Calamar. Fair? If an image of a squid swimming along, extruding its ink still comes to mind and doesn’t entice, try and think of this: classic parmesan risotto and the ocean. That's really what it tasted and smelled of, and thus, it was delicious. The tiny hint of heat from the chili flakes was a perfect addition too.
Then, despite a trip to a specialty cheese shop and a few calls to various Whole Foods, we couldn't find anyone who carried the super creamy and runny perail. We substituted Cremeux de Bourgogne, which is like brie but maybe a little richer and a bit tangier, and while neither of us had ever tried perail, we don't think too much was missed. Of course, we may have been way too excited that we were eating a cheese course to care.
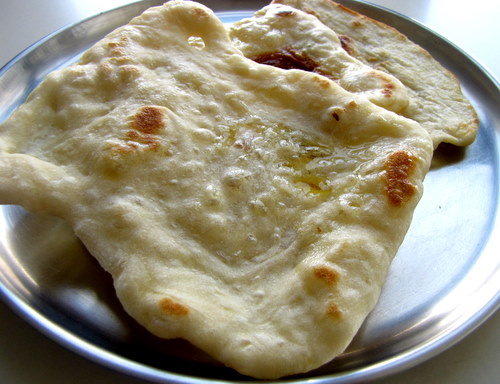
We had to be just a tad flexible with the chocolate tart as well since digestives were also nonexistent at the store. We substituted organic graham crackers without a problem. And I wholeheartedly recommend
the recipe. It wasn't very difficult or taxing, especially since the crust is the only thing baked. The filling just needs to set. It's one of those perfect desserts that all you need do is pull it out of the refrigerator at the end of the meal (post-cheese course, obviously).
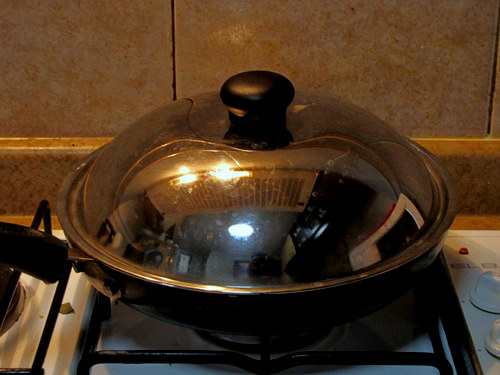
We took our time collecting each ingredient—changing buses and schlepping grocery bags from market to market. We took a long time. We washed the arugula, juiced and zested lemons, baked garlic, chopped onions and squid, separated egg white from yolk. We stirred the risotto until each grain of rice had surrendered to the stock, had plumped and softened. We moved slowly and deliberately and with great attention, taking in the savory aroma that grew and evolved as we worked, until all that was left to do was sit down with the full plate in front of us and eat.