Note: this is a slightly time consuming recipe to make but totally worth the effort.
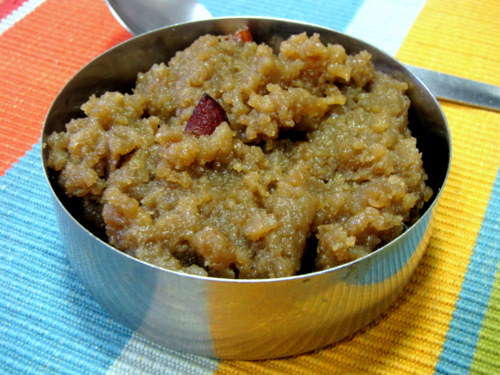
Egg Lentil Omelettes in Gravy / Guddu Thattu Posinti Recipe
Serves 4
What I Used:
For the omelettes:
3 eggs
A pinch of salt
To grind to paste:
1/4 cup toor dal, soaked for atleast 2 hours
2-3 green chillies
1" piece of ginger
5-6 shallots / pearl onions
For the gravy:
1 cup tamarind juice (a lime-sized ball of tamarind soaked in water and juice extracted)
Salt to taste
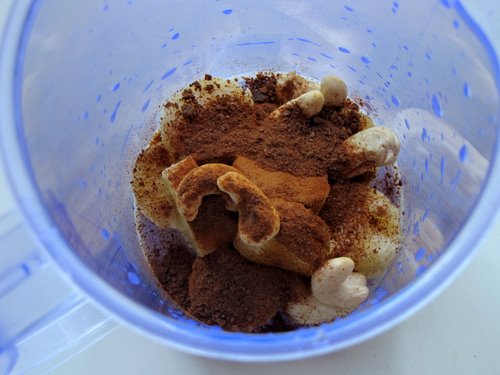
To roast and grind:
1/4 cup grated coconut
1 tbsp channa dal / kadala paruppu
1 tbsp coriander powder / malli podi
1 tsp red chilli powder
A pinch of turmeric powder
1 tsp oil
For tempering:
1/2 tsp mustard seeds / kaduku
6 shallots / pearl onions, sliced thin
A pinch of hing / asafoetida
A few curry leaves
2 red chillies, torn into halves
2 tsp oil
How I Made It:
Let's do the gravy first.
1. Roast and grind all the ingredients under that list. In a pan, add this ground masala along with the tamarind juice and salt. Bring to boil and let it simmer for 5 mins. The gravy shouldnt get too watery nor too thick, the consistency should be thicker than rasam but thinner than kozhambu.
2. Heat oil for tempering and add all the ingredients. When the mustard seeds pop and the shallots turn golden, add to the gravy and set aside.
Now for the omelettes.
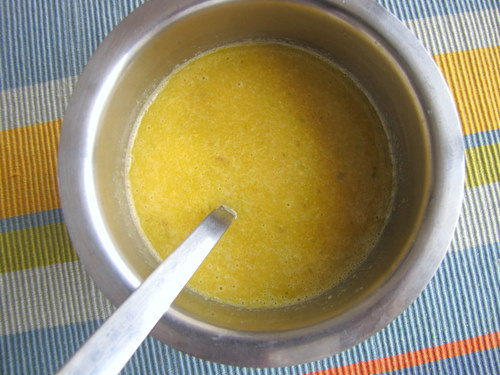
3. Grind the ingredients under list for omelettes.

4. Break the eggs into a bowl.

5. Add the ground lentil paste.

6. Beat well for a minute with salt.
7. Make into small omelettes by pouring 2 tbsp of the egg mixture at a time onto a lightly oiled pan.

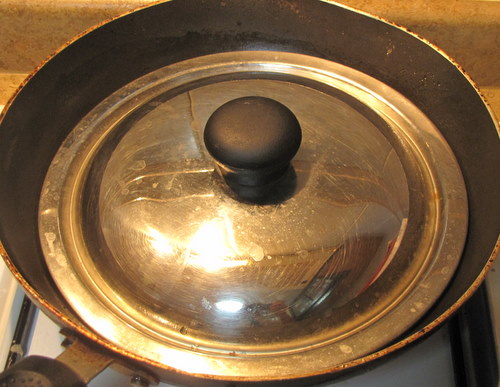
8. Cook closed to maintain softness.
9. Flip over when one side is browned.

10. You should get about 5-6 omelettes with this quantity of ingredients.

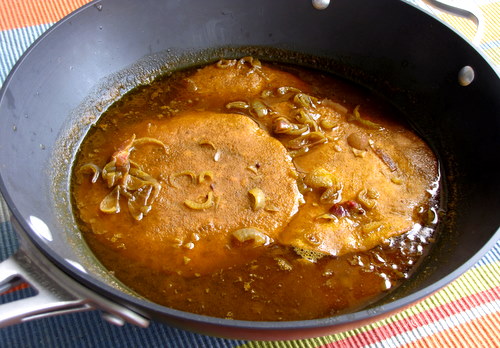
11. Phew, ok last step. Dunk in the omelettes in the prepared gravy and serve after an hour or two with steamed rice.


