Dear Readers:Welcome to the Guest-attempt-gone-wild zone. Read along as my good pal, Jodi (of Saucy Little Dish fame), takes on Thomas Keller's Bouchon cookbook. Things are about to get super French and super freaky... Two years ago, my wonderful husband (merely my boyfriend at the time) bought me Thomas Keller’s
Bouchon Cookbook for Christmas. It is gorgeous--larger than your average-sized cookbook, hefty, shiny, with amazing photography and inspiring prose detailing Keller’s philosophies of cooking and the history of the casual “bistro” style of French comfort food. I loved it. I paged through, drooling over the potted food, the terrines, the glistening oyster glamour shots, and then…I put it on a shelf. For two years. Because, as beautiful as it was, it was utterly impractical. Sure, that vinaigrette might be a good staple, but beyond his tips and technique hints, these recipes were so detailed, so skill-heavy, so elaborate–for what he claims is such casual food–they were just too much for me.
Now, I think I’m a pretty good cook. I can whip through most
Bon Appétit recipes with no problem at all and know my basics pretty well. So for my first guest Appétempt, I figured I’d brave Mr. Keller’s masterpiece. I’d try to recreate the meals of one of America’s greatest. We’d just gone to the original
Bouchon in Napa on our honeymoon, and I was feeling inspired. I’d use his damn cheesecloth idea; use every freaking pot in the house and DO IT. And I would invite Matt and Amelia (and our friends Rachel and Jared) over to enjoy the fruits of my labor. One Day, Three recipes: Salmon Rillettes, his Bibb Lettuce Salad, and the big momma…Boeuf Bourguignon. Let’s do this.
8 am: Wake up and immediately go out to finish shopping. I go to 4 different stores looking for Pernod. Give up and buy Sambuca at CVS instead.
(NOTE: lots of this stuff was done concurrently all day, but I’ll divide it up for reading ease and space conservation.)
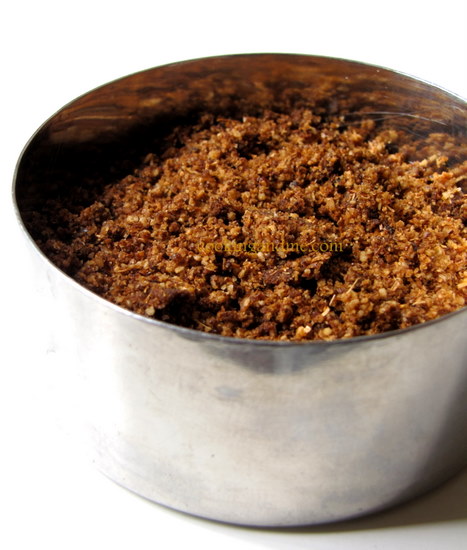
10 am: I tackle the Rillettes. Now, Rillettes means potted food. Yummy? This is a steamed and smoked salmon pate. The husband, excited to have a new kind of liquor in our cupboard, starts making weird cocktails with the Sambuca and having me taste. Nothing better than hard liquor at 10:30 am.
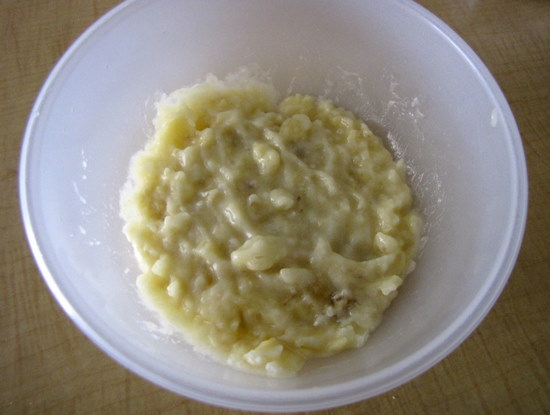
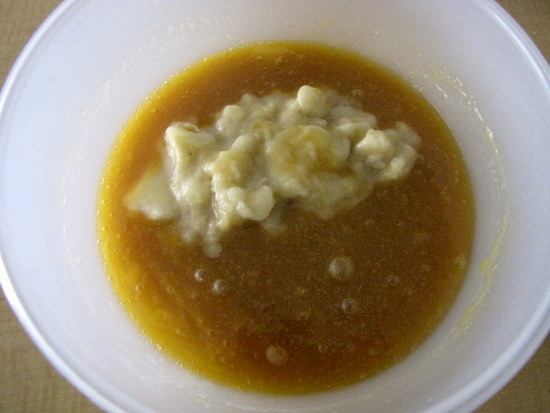
Marinated the salmon for a bit in Sambuca, salt and pepper, steamed it, mushed it up, and stirred with crème fraiche, cubed smoked salmon, softened shallots, egg yolks, lemon juice and good olive oil. Smooshed it into pots, smoothed out the top, covered in a “lid” of clarified butter, sealed it up and refrigerated. Served this with baguette slices as an appetizer and it was a hit. Smokey, creamy, and frankly, pretty easy. I’d do this one again.
Thomas Keller/ Bouchon's version:
Mine:
11:00am (and beyond): Now here’s where the adventure really began. I refuse to bore you with exact amounts and technical recipe lingo--the recipe in the book is 4 pages long. It’s intense. Basically, you need a shit load of carrots, onions, leeks, mushrooms and shallots because you will cook THREE SEPARATE BATCHES OF THEM.
A fundamental part of Keller’s cooking is keeping textures right and infusing flavor as much as possible. So we start with a bunch of onion, mushroom stems, carrots, leeks, shallots, thyme, bay, peppercorns, parsley and garlic and cook the hell out of them with an entire bottle of Cabernet until it’s reduced to a glaze (45-60 minutes).
Meanwhile, trim and cube the boneless beef short ribs and brown them in a skillet, in batches.

Once the red wine reduction is ready, and all the meat is browned, add in a crap load MORE garlic, leeks, carrots, thyme, bay leaves, and parsley and stir together.


Yes, the first round was just to flavor the wine reduction. THIS round is to flavor the beef. BUT, heaven forbid these veggies get to TOUCH the beef. Oh no, that would contaminate the beef with mushy veggie particles. Keller wants you to, on top of the wine and second round of veg, make a little nest for the beef out of dampened cheesecloth.
I fold the cheesecloth over the beef, and cover the whole shebang with beef stock. I bring it to a simmer, cover and put in a 325 degree oven (which had been preheated to 350, but then immediately turned down when I put the pot in because Thomas told me to.) for a couple hours, or until the meat is very tender.
3:30ish: The meat is soft, the house smells amazing. So we put the meat in another oven safe pot, discard the cheesecloth, and strain the veggies, keeping the stock.

Strain a couple times, and then strain the stock OVER the beef. Then laugh your head off when you read that you should keep the beef and stock refrigerated for 1-3 DAYS. HA. You get 3 hours--if you’re lucky. I chuck all the cooked veggies and herbs into the garbage. They have served their purpose in Keller’s mind. Then I go on a walk with the (now tipsy) husband. (Oh yeah, he’s still testing out drink recipes. The winner is a Via Veneto – brandy, Sambuca, lemon, sugar and an egg white.) I need some fresh air and I’m not even near done.
Back from our walk, we still have another round of veg to tackle. Earlier, I’d trimmed baby carrots (or bought 'em trimmed like I did), cut up fingerling potatoes, trimmed and cleaned mushrooms and cleaned and trimmed pearl onions which, out of full commitment to this project, I peeled MYSELF. (No Ina Garten-style frozen onions here.) Very proud I didn’t cut myself while peeling these little suckers. Never need to do this task again as long as I live.

Simmer those until soft with peppercorns, garlic, bay and salt. Same with the fingerling potatoes. Same with the pearl onions. Sautéed a bunch of button mushrooms til browned and soft, and crisped up a bunch of lardons in the oven.
Put all the cooked veggies aside. These are your actual veggies for eatin!
About a half an hour before you plan on eating, take the beef and stock from the fridge, heat in a warm oven to soften the stock, and then strain it ONE MORE TIME into another ovenproof sauté pan.
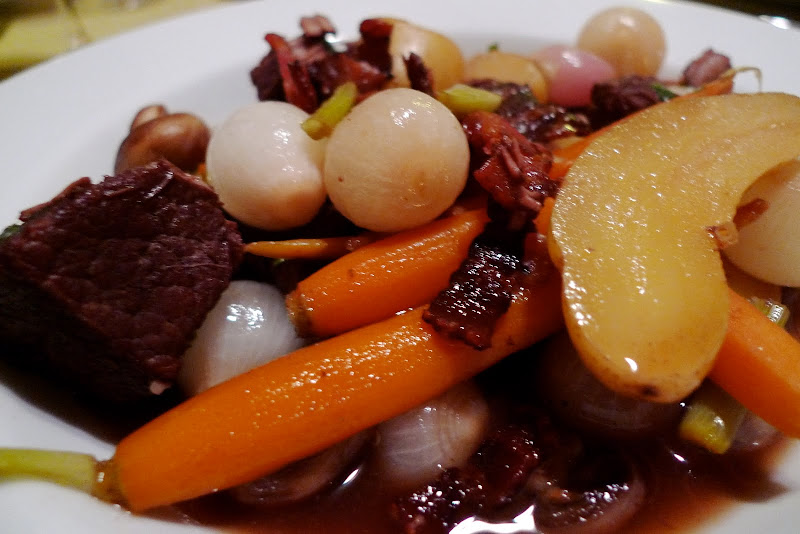
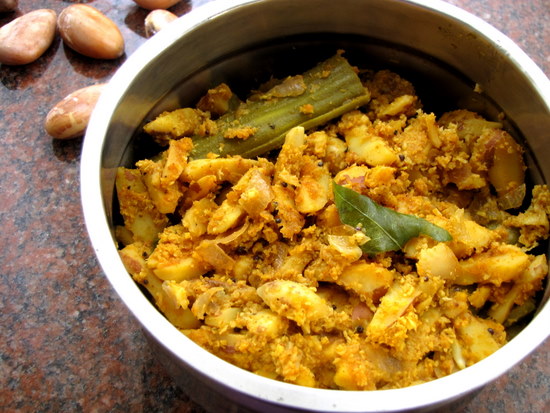
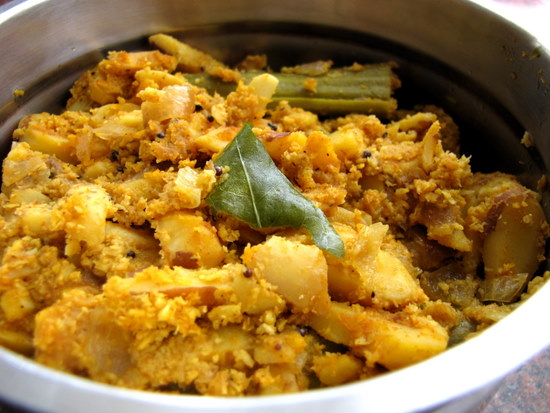
FINALLY, combine veggies, meat, stock and add some chopped parsley, stir it all together, put in the oven til it’s all hot, then dish it up.
Meanwhile, we tossed a bunch of Bibb lettuce with chervil, chives, parsley, and the Bouchon house vinaigrette (using canola oil! Weird!) and then promptly decided to ignore Keller’s suggestion that you reassemble the heads of lettuce on the plates before serving. My people are hungry. That is just silly. Still it looked pretty damn good and tasted even better.
Thomas Keller/Bouchon's:
Mine:
Now, the Bourguignon was good. Maybe too dry? Maybe the sauce wasn’t quite rich enough? But it was warm, comforting and you could definitely taste the POUNDS of veggies that had given their souls to flavor my meat. Or not. At this point, I really didn’t care. It was 8 pm. I’d been working on this for 12 hours. I needed to sit.
Though I’d probably never again spend 12 hours making a bowl of veggies and meat, it was a good meal, casual, comfortable, filled with the fun chatter of people I love. My house was transformed into the bistro that Keller spent 20 pounds of book describing, and it was Boeuf-tiful.
Keller's:
Mine:
(NOTE: the book is back on the shelf, where frankly, it will probably stay for a while, though we finished those rillettes this weekend and I might whip up some more…)

 This is what I ended up with. Like I said, it was pretty darn close in taste to the original thing I had in the restaurant. Here's how:
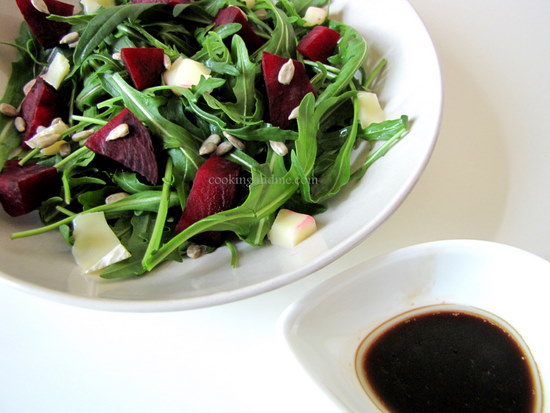
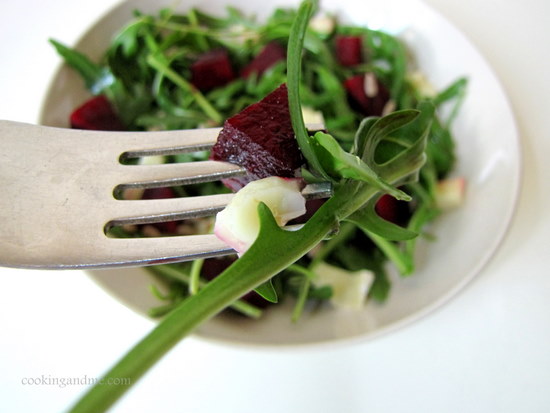 There's something about rocket lettuce that makes me want to eat it all day. I am not much of a salad person but this salad totally makes me want to take that back.


